Registers
The registration menu provides the tools for registering data and information from iDSecure. Through it, it is possible to register, edit and remove information referring to users, groups of users, visitors, groups of visitors, departments, and companies.
Users
For users to have access to areas registered in the system, users must be registered.
The registration of users follows three main steps:
- Register the initial data;
- Fingerprint or face registration;
- Link to department.
After confirming that all the information is correct, just click the Save button.
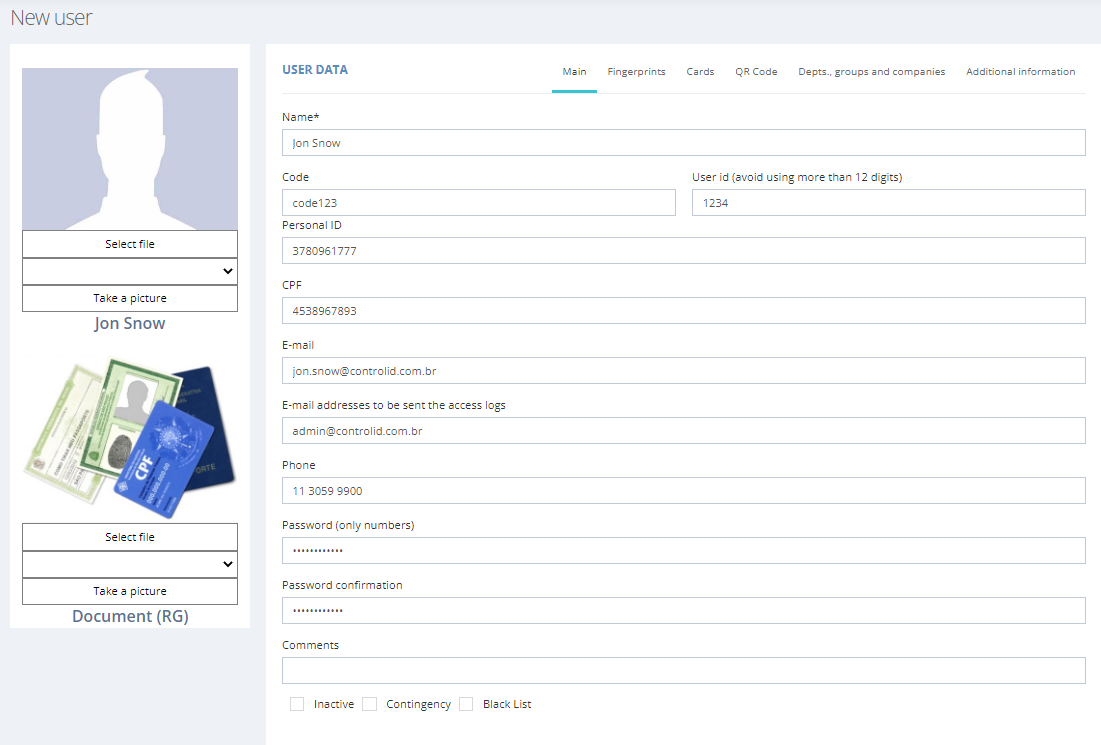
On the user data screen, it is necessary to fill in the personal information of the registered user. This includes additional notes and optional labels as Inactive, Contingency, and Black List. Persons labeled Inactive are those that will not be sent to devices (Lite license) or will not hava access granted by the server (Enterprise), but still appear in the system's users list. The Contingency option indicates that the user and their credentials will be present on the devices even on the Enterprise license to ensure that even if there is a loss of connection to the server, the user will be released. The Black List option places the user on the iDSecure black list. Users on the black list are always blocked and generate an alarm when identified on the server.
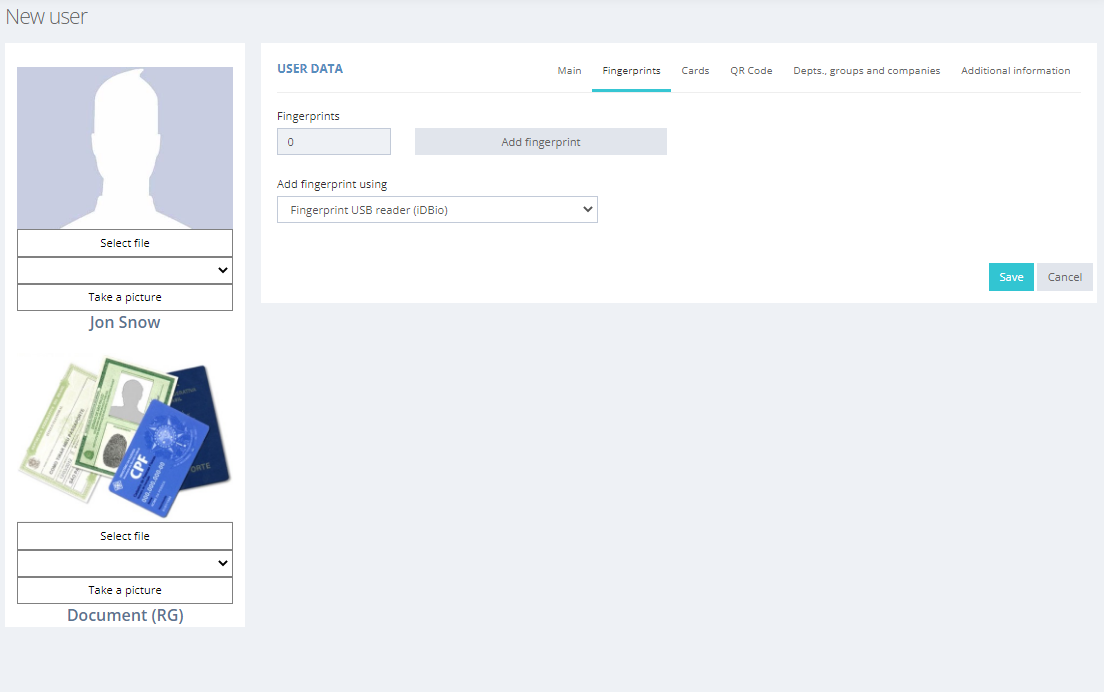
On the fingerprint capture screen, it is possible to select the number of fingerprints to be registered and the registration method. This method can be a USB biometric reader or some equipment registered with a biometric reader of the access control line, for example.
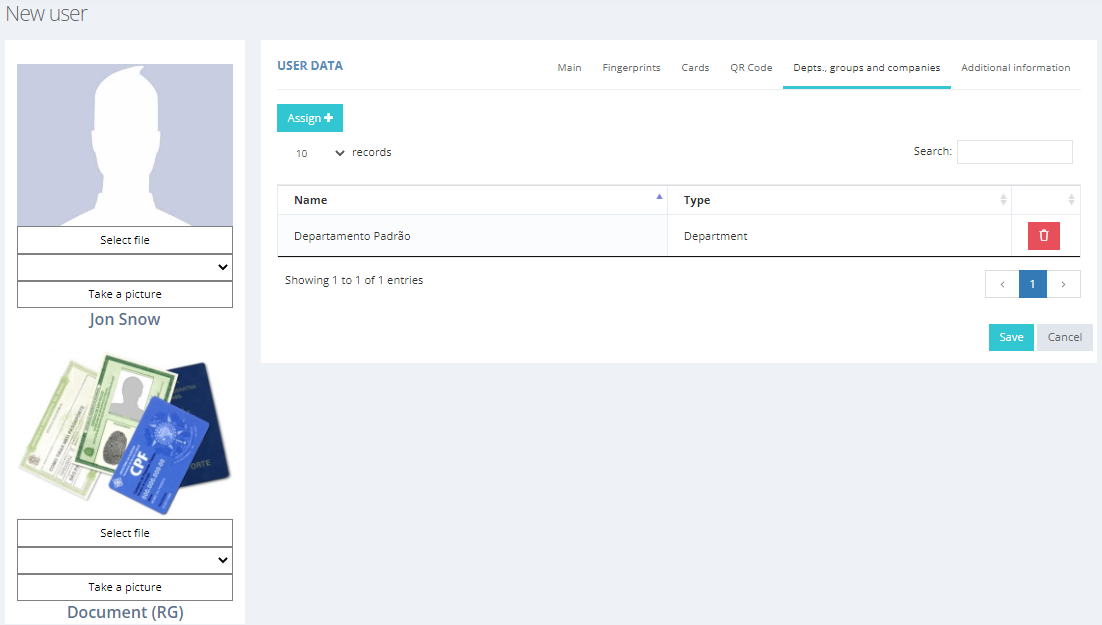
In the department linking screen, it is possible to link the user being registered to a previously registered group, department, or company.
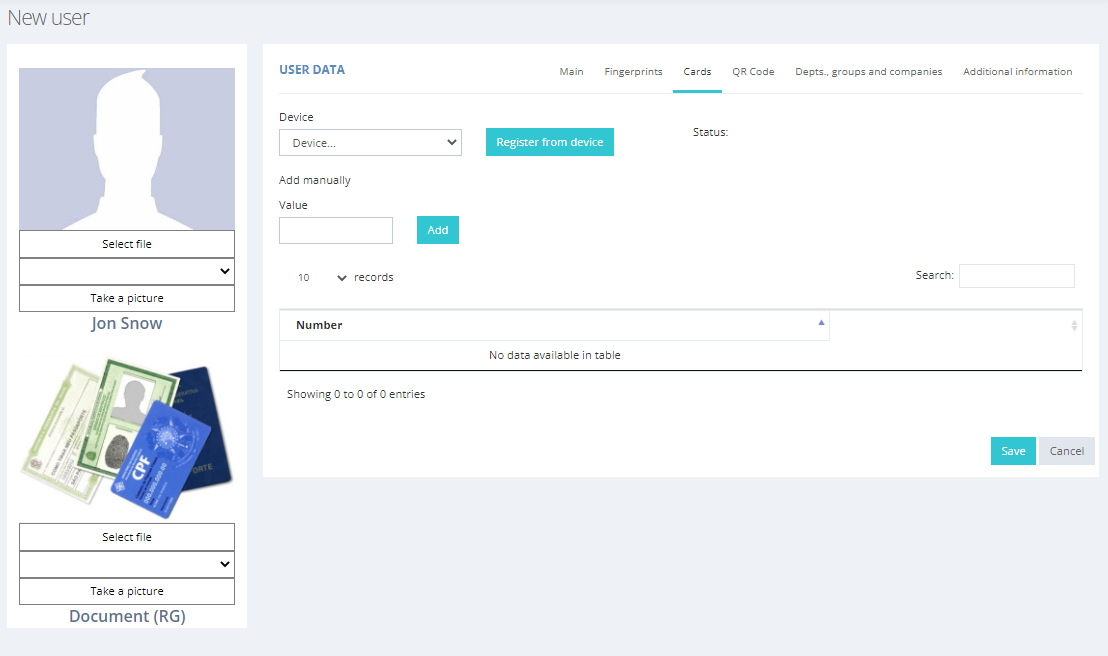
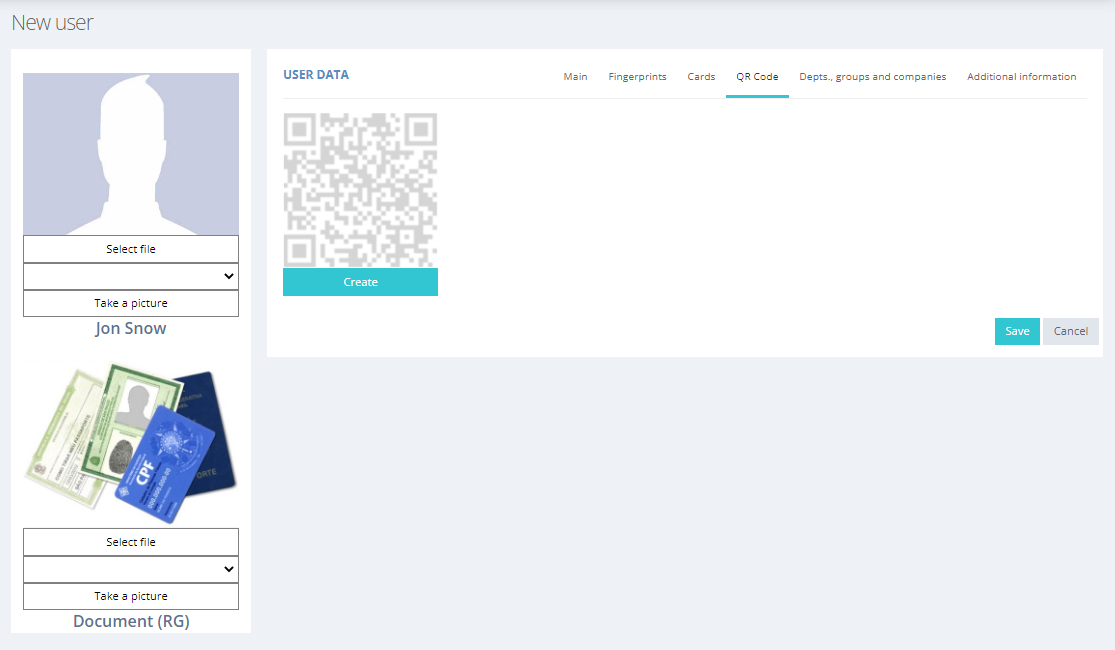
In addition to registering fingerprints as a method of access for the user, it is also possible to register a proximity card or QR Code. The process is very similar to fingerprint registration. It is possible to select the registration method and quantity.
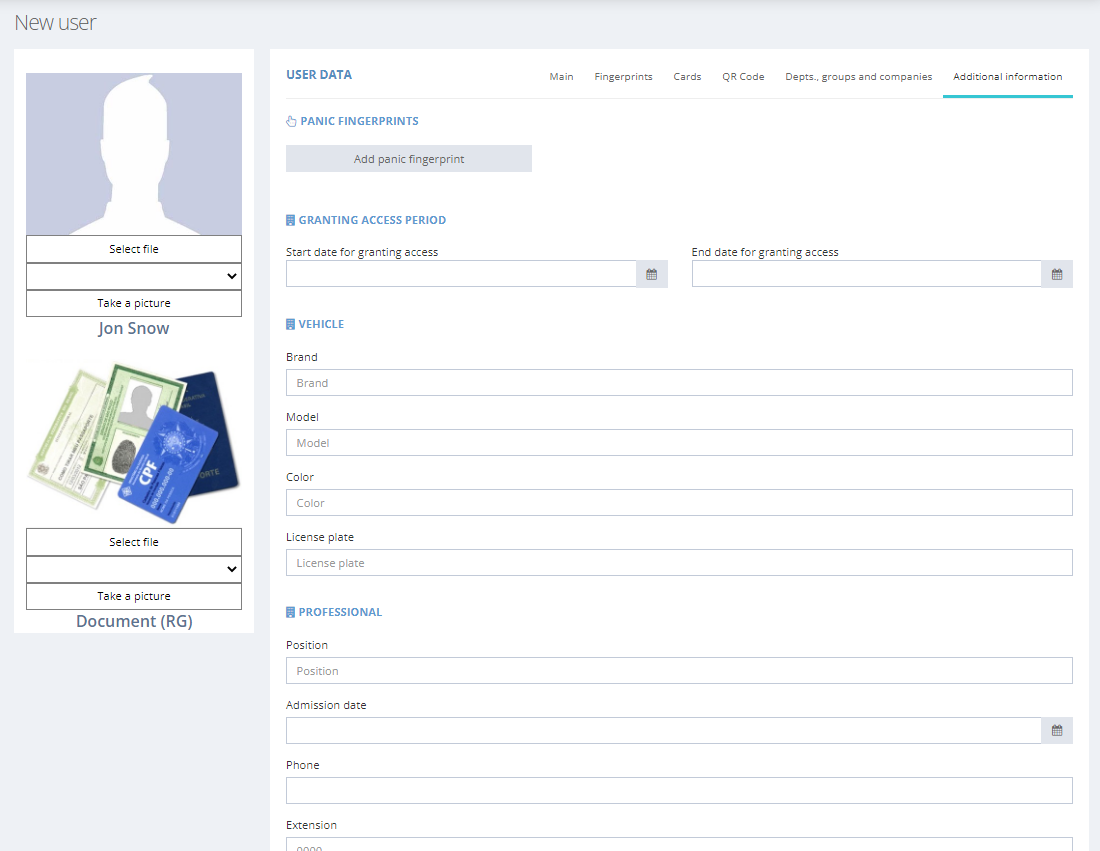
Through the Additional Information tab, it is possible to add a series of extra data to the registered user. This includes information such as panic finger registration, custom access period, vehicle data associated with the user, professional data, personal information, as well as addresses.
A panic finger is a fingerprint capable of triggering an alarm on the device when identified, indicating possible coercion situations. A custom access period is an optional parameter, which establishes the range of dates in which the access rules assigned to the user are valid. In this way, the user will no longer have access at the end of the access period.
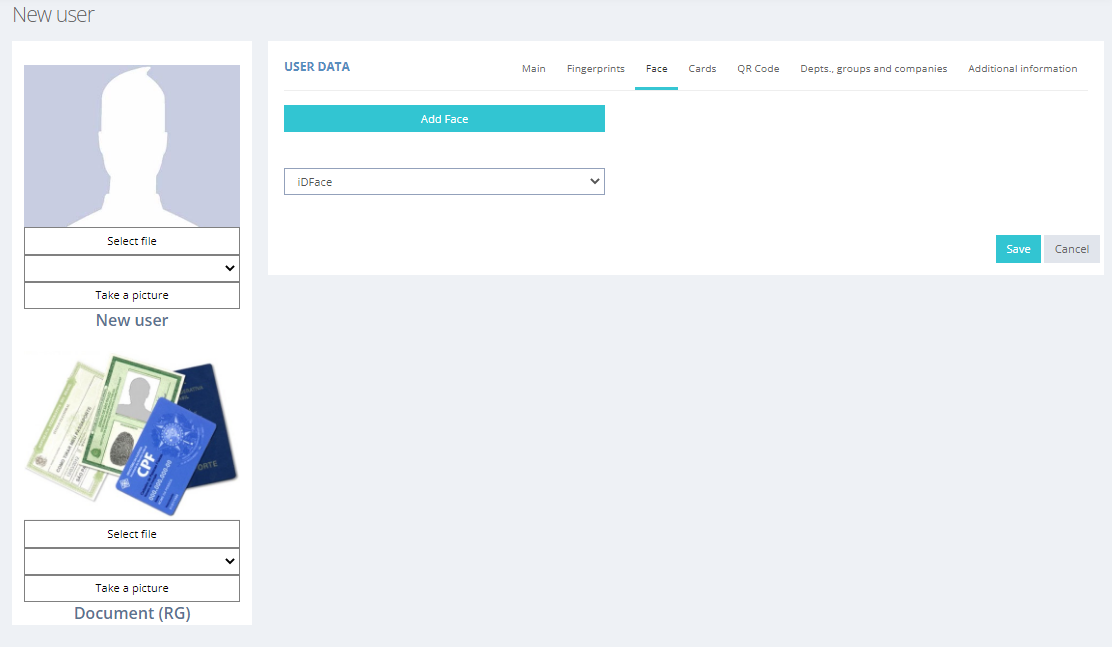
Also through the users registration menu, it is possible to associate a photo of the user or also a photo of an identification document.
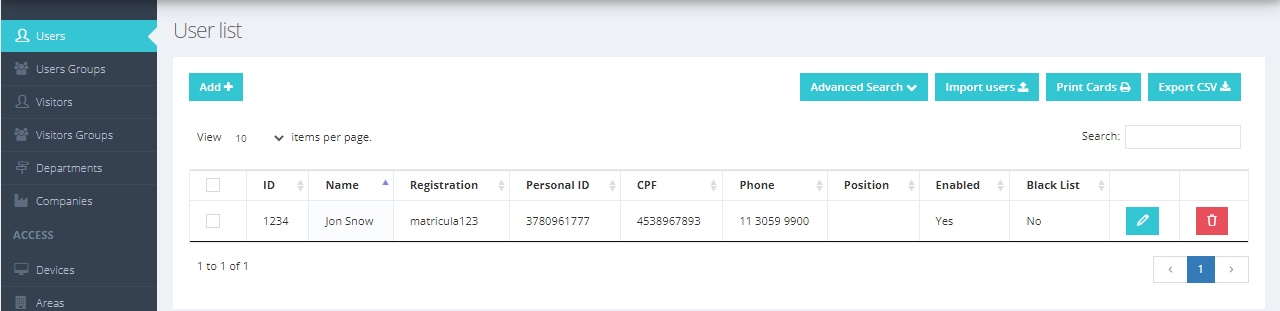
Through the Registration menu, it is possible to view the list of all registered users and edit or remove them. There are also mechanisms for searching, importing, and exporting registered data.
If a iDFace is registered in the system, it is possible to use it to register user faces. This can be done through the User menu in the Face tab.
Visitors
Visitor registration is used to register users who access a certain area within a defined time. Just enter the visitor's main page and, after that, link the visitor to an access rule. It is also possible to provide the company visited, define the responsible contact, register a card, face or fingerprint and perform printing.
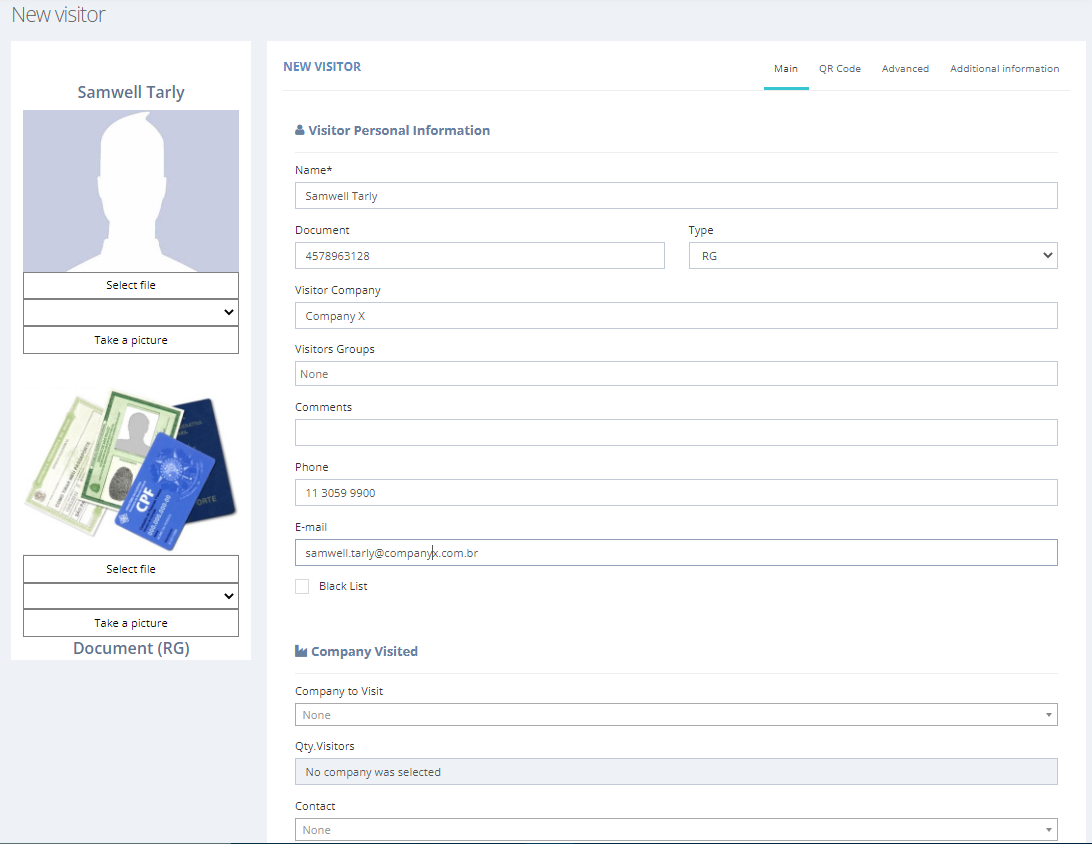
The main information on this screen is the validity field that defines when the user will be able to access the areas.
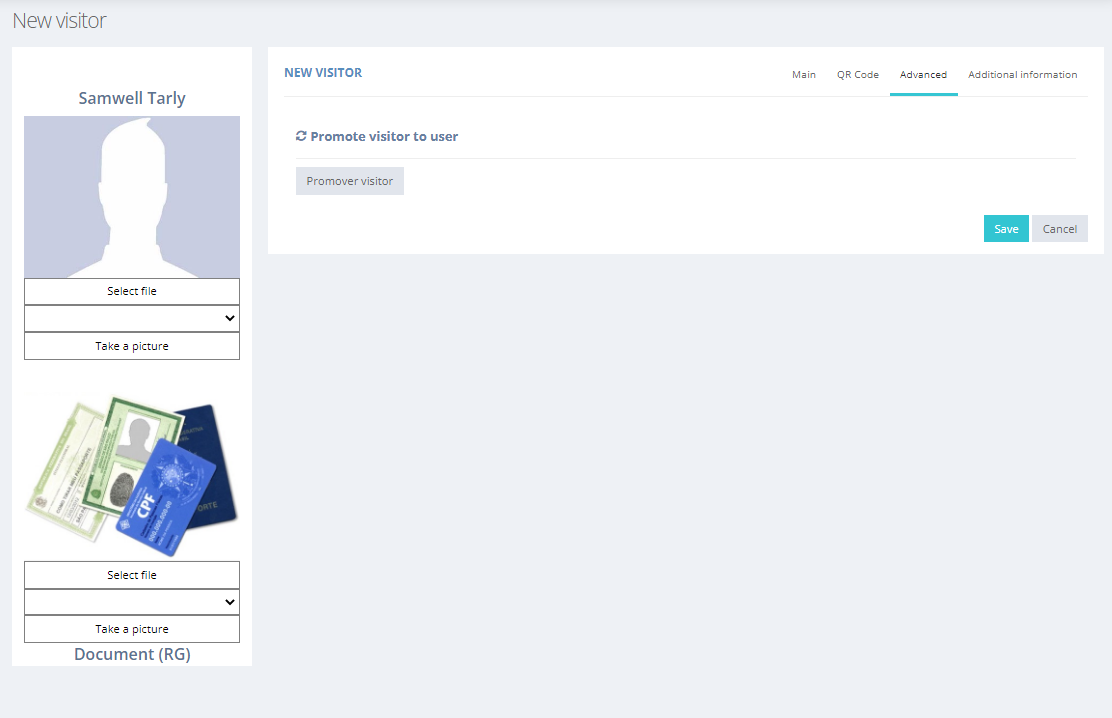
It is also possible to generate a QR Code for the visitor in the QR Code tab. In the Advanced tab, it is possible to promote the visitor to a regular user.
Through the Register menu, it is possible to view the list of all registered visitors and edit or remove them. There are also mechanisms for searching, importing, and exporting registered data.

Departments
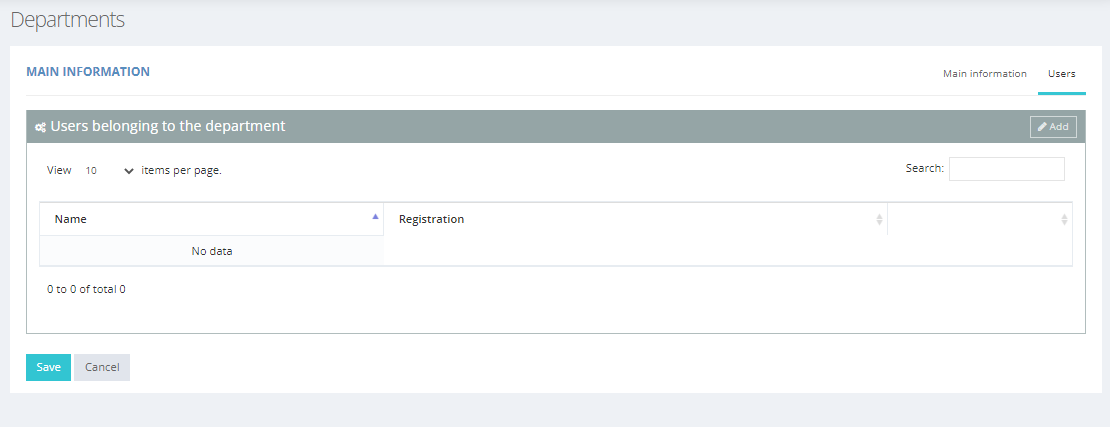
The department is the group the user is associated with. The department registration is important to help control the areas that the group will have access to. To register the department, just fill in the name field and click on Save.
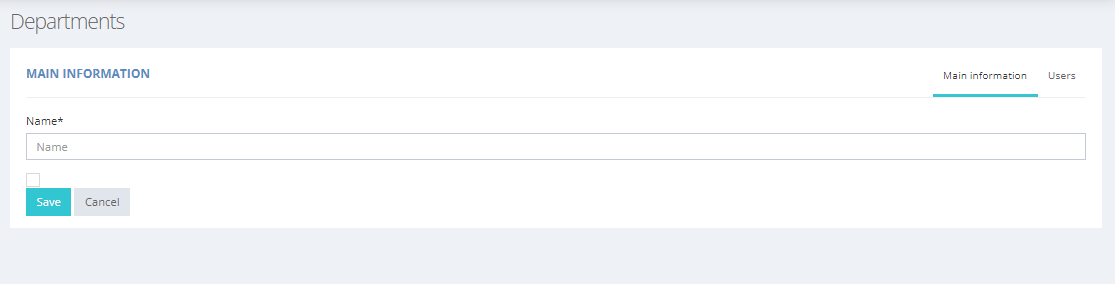
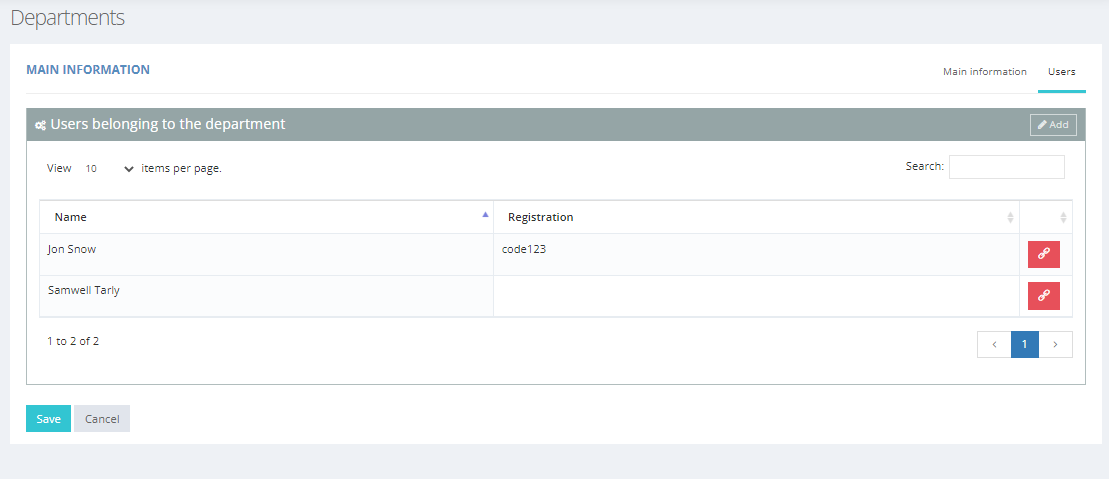
The Users tab is the fastest way to link the users who are registered in the system to the new department, just click the edit button and, after that, select the users who are in the selected department and after clicking in save.
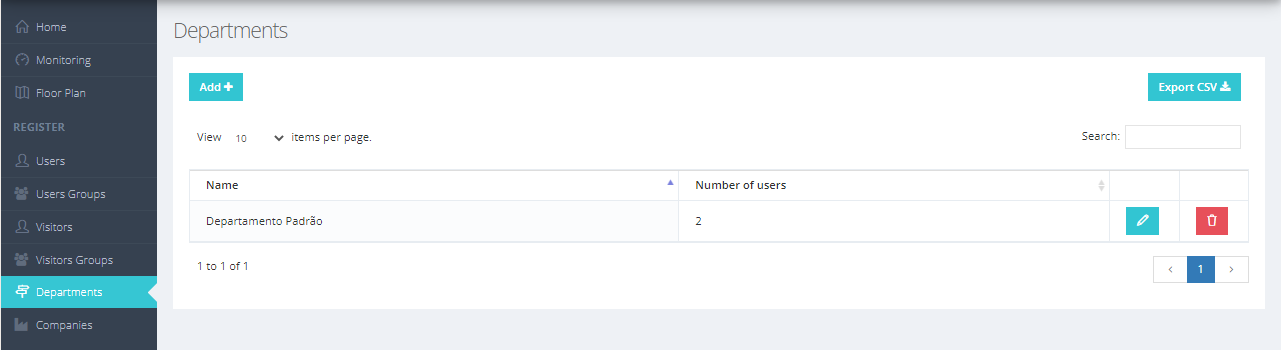
Through the Registration menu, it is possible to view the list of all departments and edit or remove them. There are also mechanisms for searching and exporting registered data.
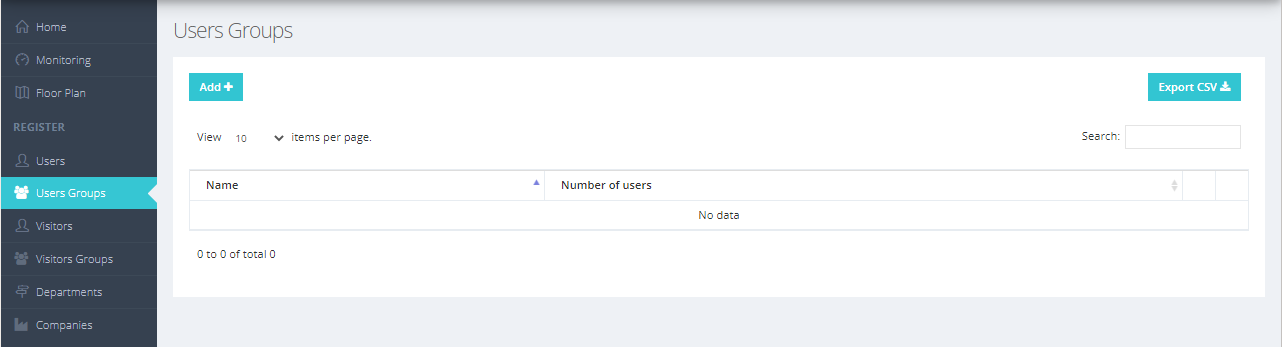
Users Groups
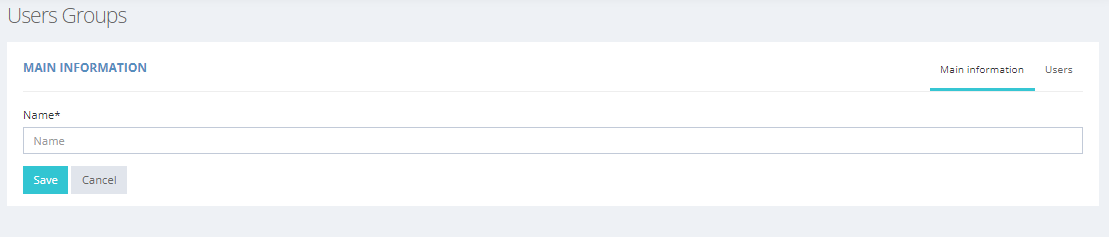
Users groups are another way of organizing registered users, similar to departments. To register the group of users, follow the same step-by-step procedure as in the department register.
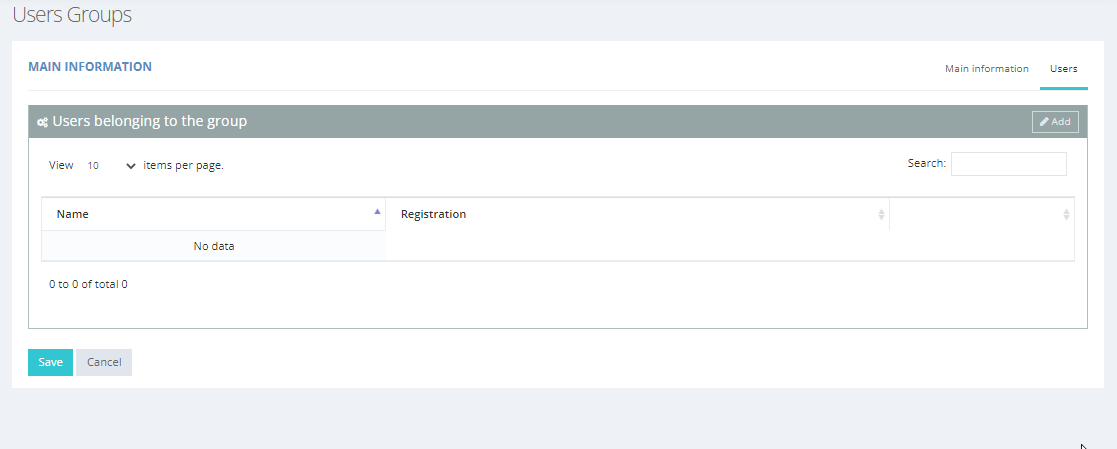
Through the Registration menu, it is possible to view the list of all groups of users and edit or remove them. There are also mechanisms for searching and exporting registered data.
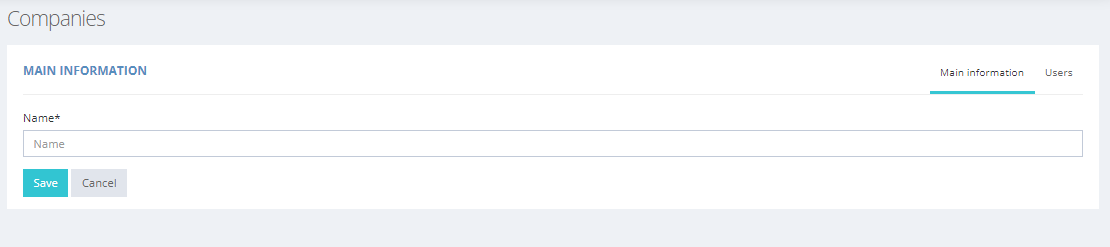
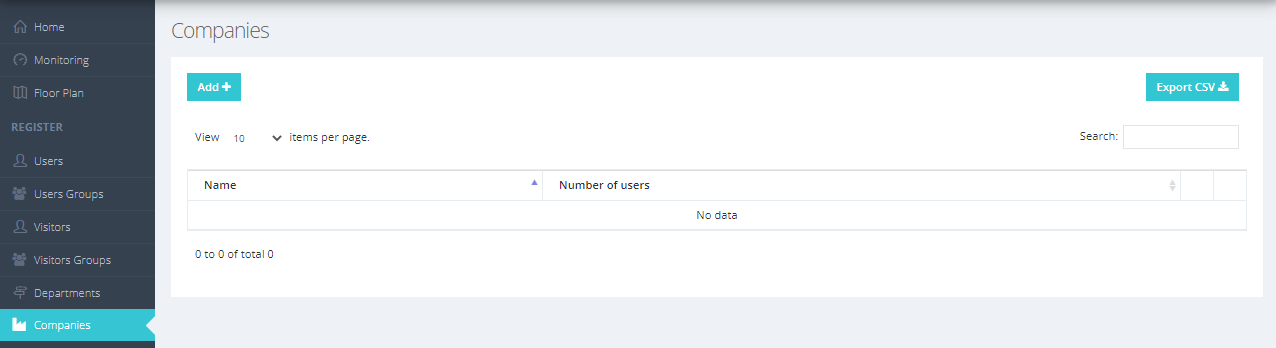
Companies
Companies are another way of organizing registered users, similar to departments. They represent the company to which the individual belongs and has organizational purposes. To register the company, you must follow the same step-by-step procedure as in the department registration.
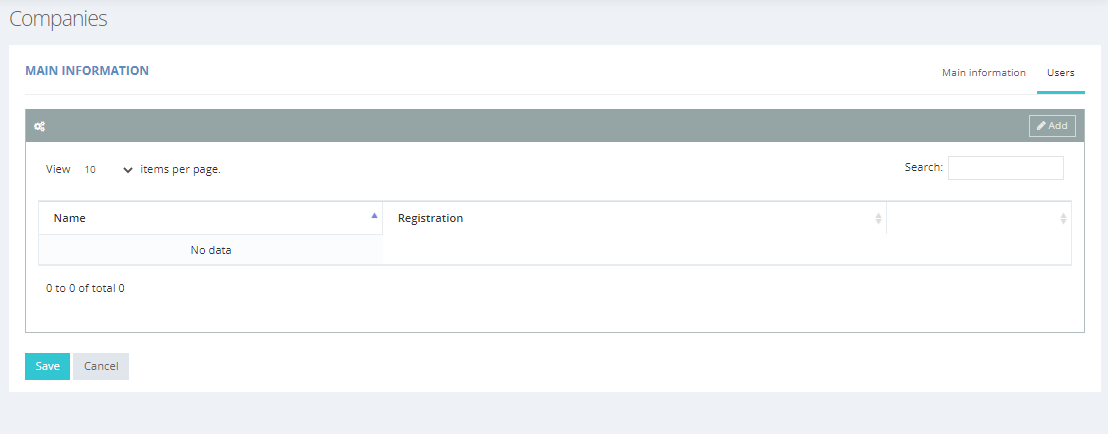
Through the "Register" menu, it is possible to view the list of all companies and edit or remove them. There are also mechanisms for searching and exporting registered data.
Vehicles
When the parking space control configuration is enabled, you can register new vehicles, parking lots, and manage parking space control.
In order for vehicles to have access to the specified parking lots and spaces, they must be registered. The following is an example of a registered vehicle:
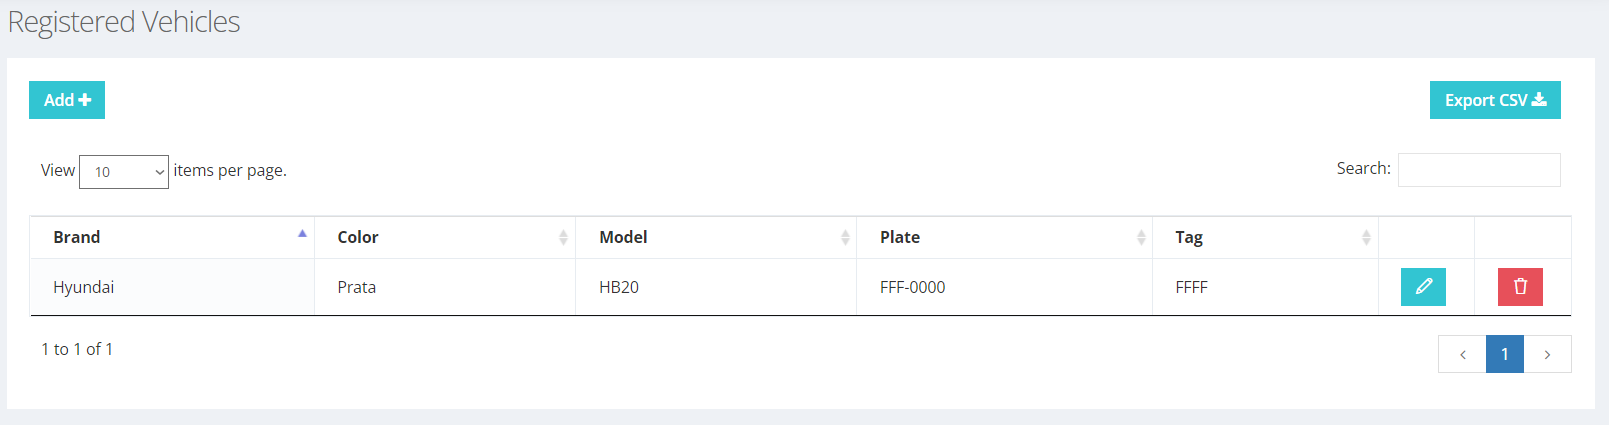
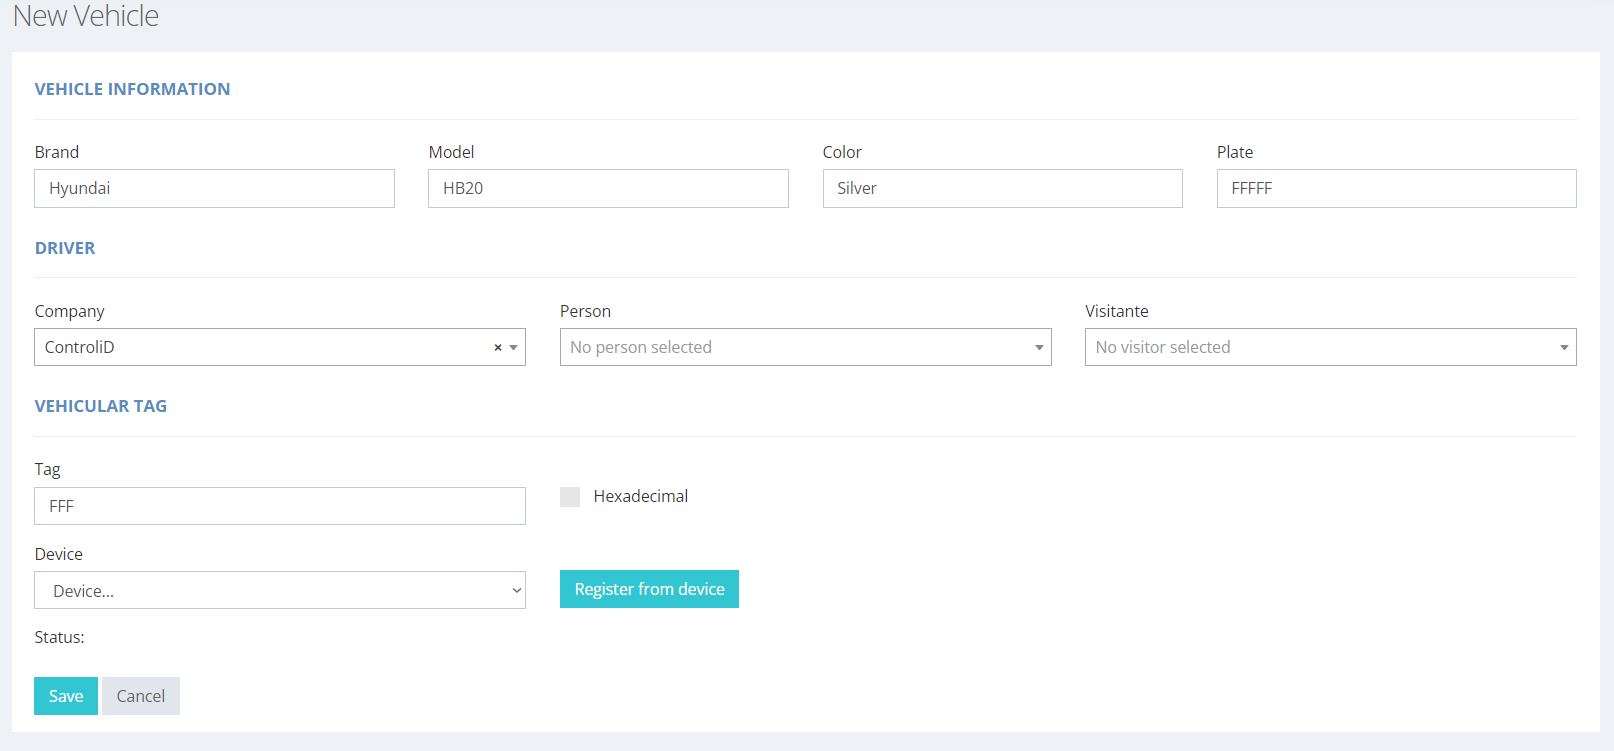
To add new vehicles, click on add in the upper left corner of the image above. On the new page shown in iDSecure you must define the vehicle data (brand, color, model and license plate), driver information (select the person, company or visitor responsible) and vehicle tag information information (tag and reader). The page for filling in this data is shown below:
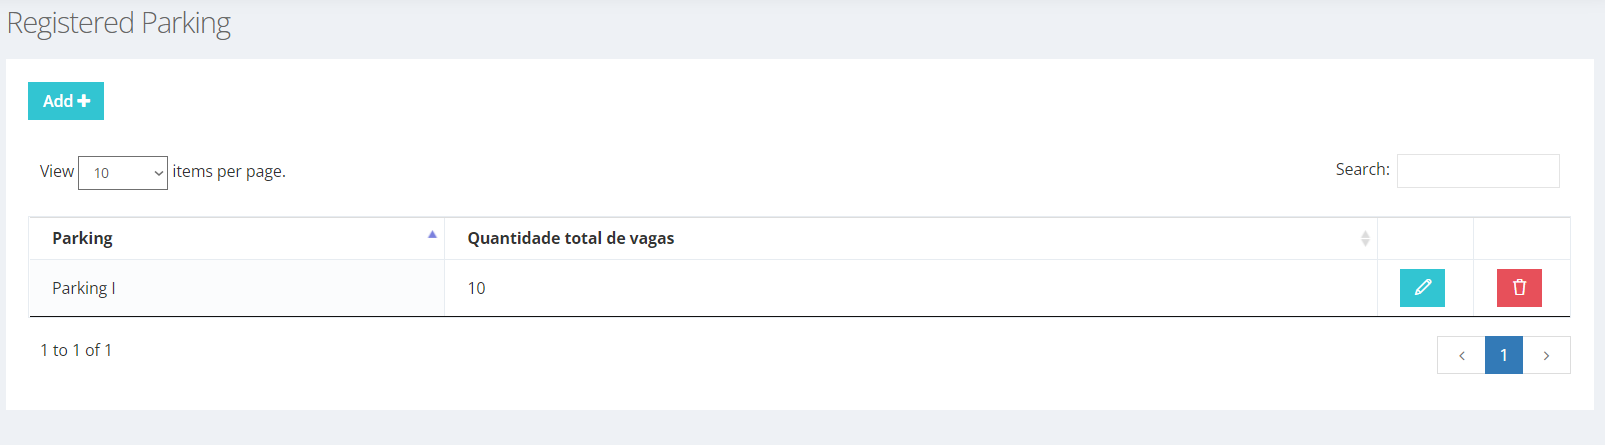
Parking places
We can also add a parking place. By default there is already a parking place created with the name "Default Parking Place". The number of spaces defined for it is 10 spaces. You can change this by clicking on the icon in the right corner (the pencil, shown in the screenshot below) or you can also add a new parking lot by clicking add in the top left corner:
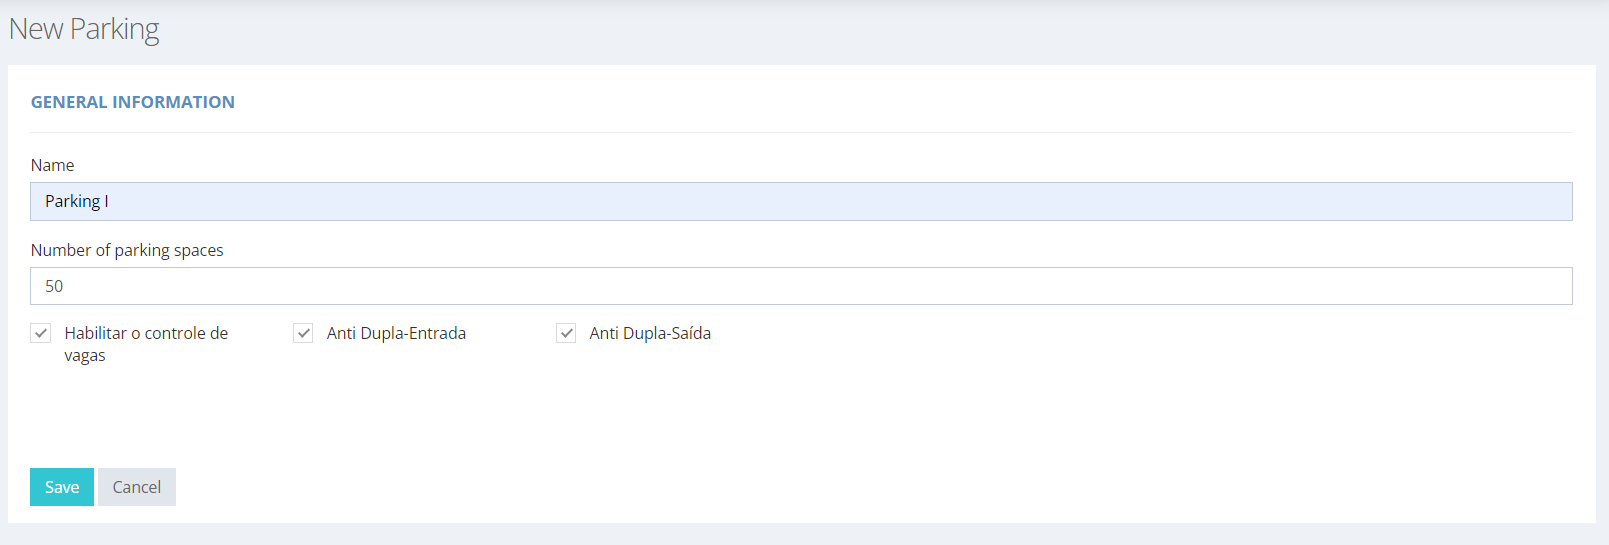
When clicking on add, a new page will open. Here you must define the name and the number of parking spaces:
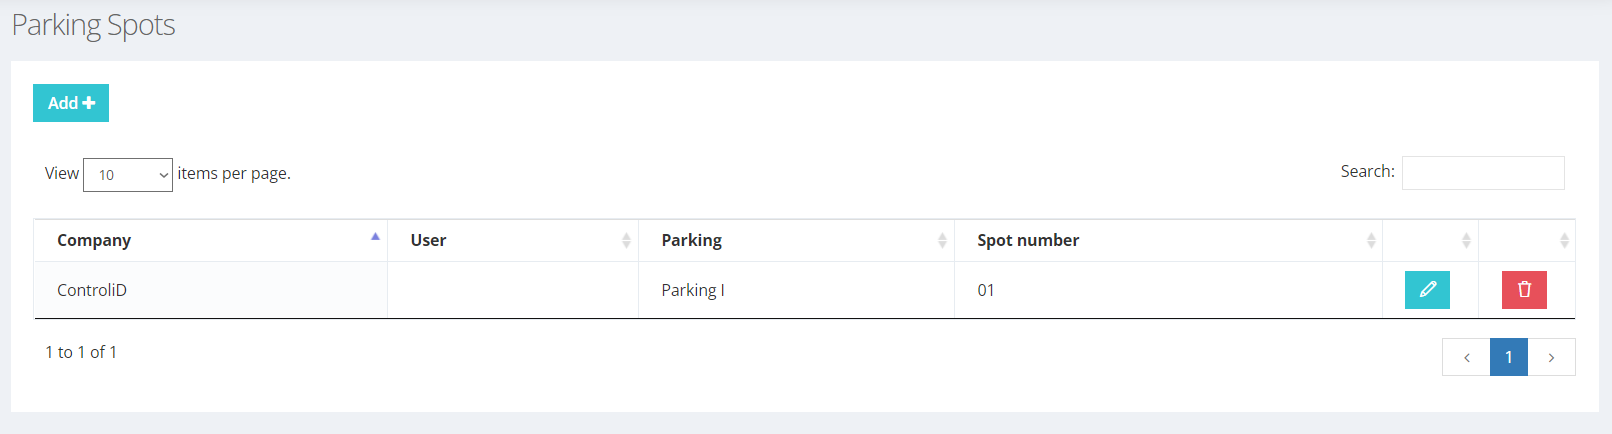
Parking Sot Control
After you have registered the parking lots, you can associate specific parking spaces to a person or a company. In the example below, a parking space, code 01, was associated with the company ControliD in the parking I.
To associate a new spot just click on add and the page shown in the sequence will open. This page shows the options of associating the space to a person or company and the necessary fields to be filled in.