Access
The access menu presents tools for configuring various access-related functionalities. Through it, it is possible to configure devices, areas, schedules, access rules, and email notifications.
Devices
The device is any terminal manufactured by Control iD that is installed in your company, for example, iDAccess, iDAccess Nano, iDAccess Pro, iDAccessProx, iDFit, iDBlock, iDBox, iDUHF, iDFace or iDFlex.
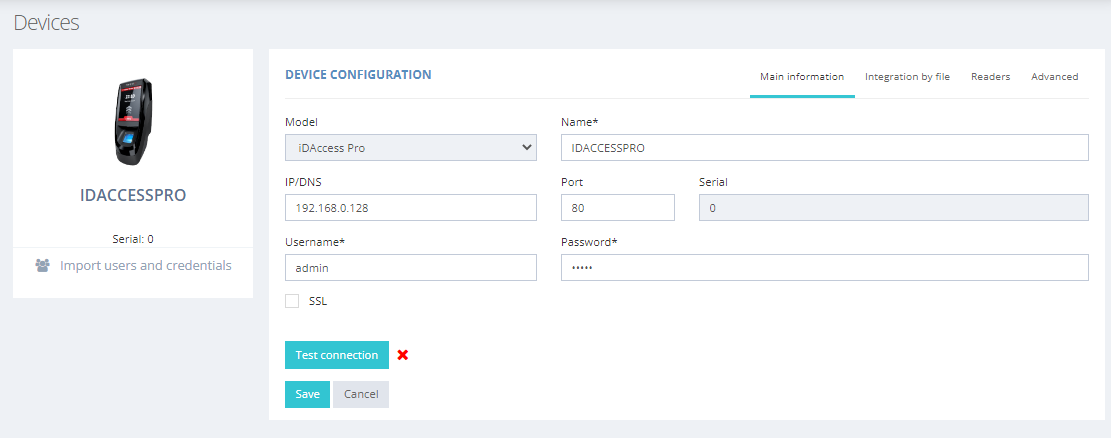
Device registration is very simple, just fill in the fields on the screen and pay attention to the * symbol (which means that this field is mandatory), after filling in all the fields and confirming that they are correct, just click on the Save button.
The Test Connection button allows you to check if the device is on the network.
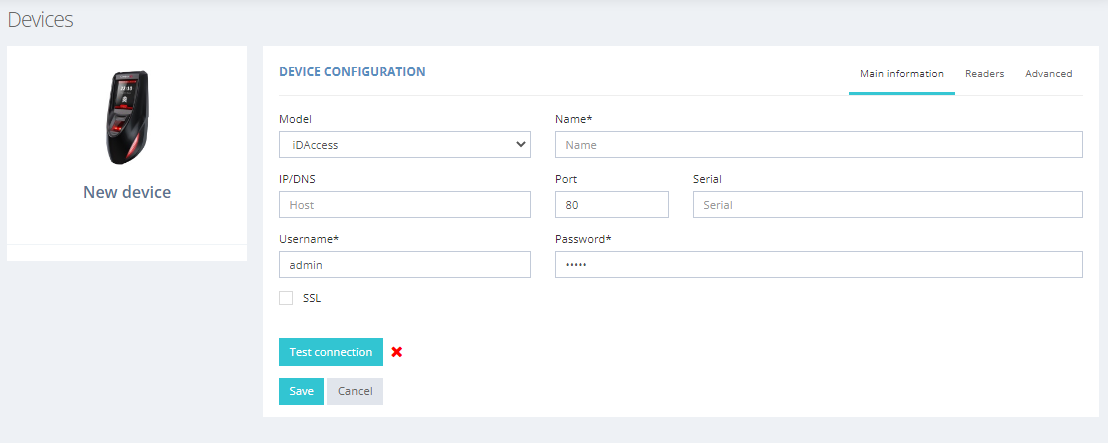
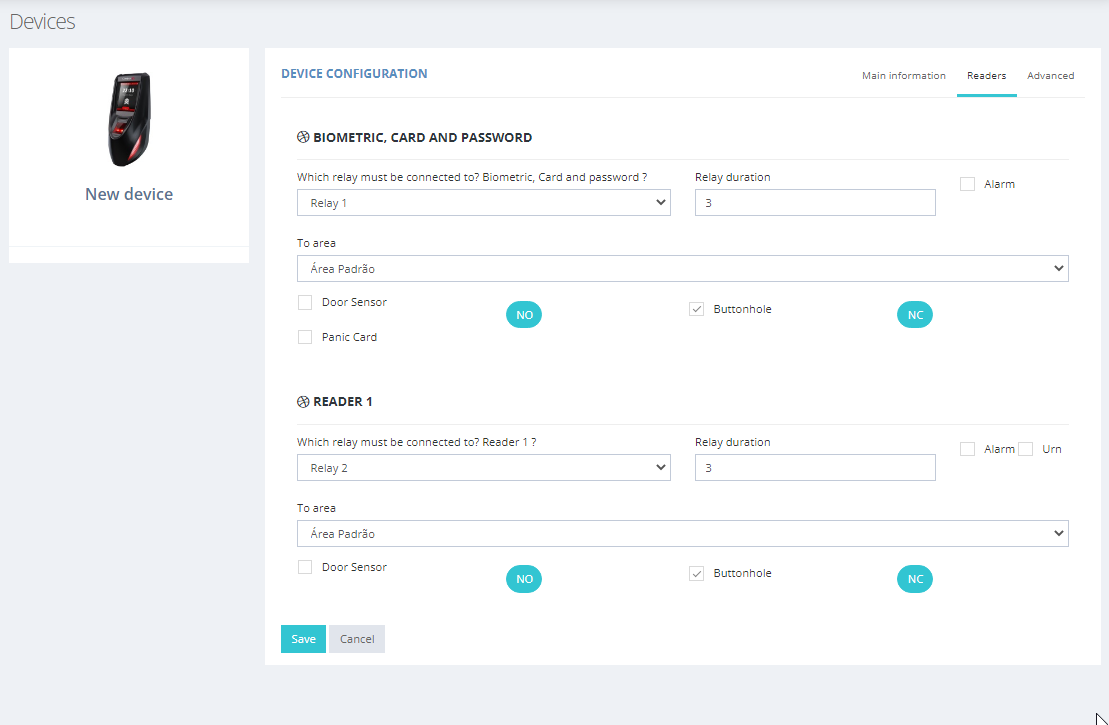
The Readers tab corresponds to areas; which may be linked to that device.
The Advanced tab corresponds to device settings, eg update date and time.

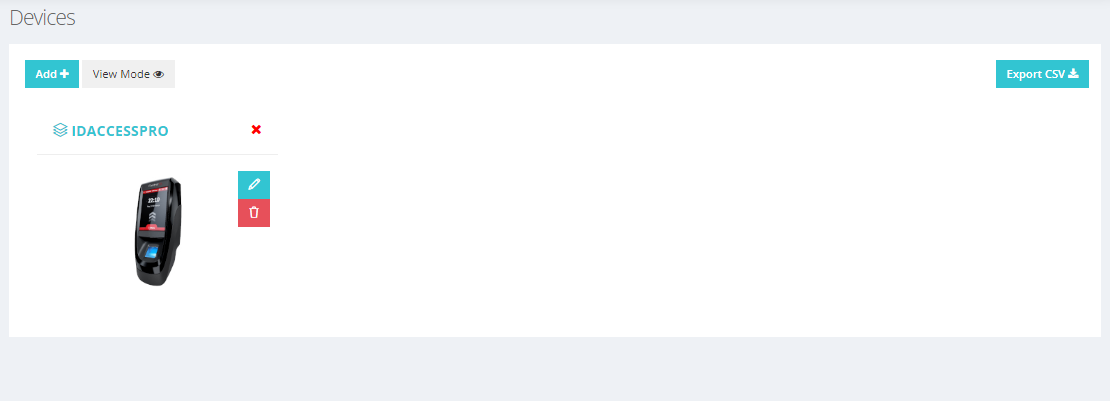
In the Access menu, it is possible to check all registered devices. You can edit and remove devices. To edit detailed device settings, simply click on the appropriate icon.
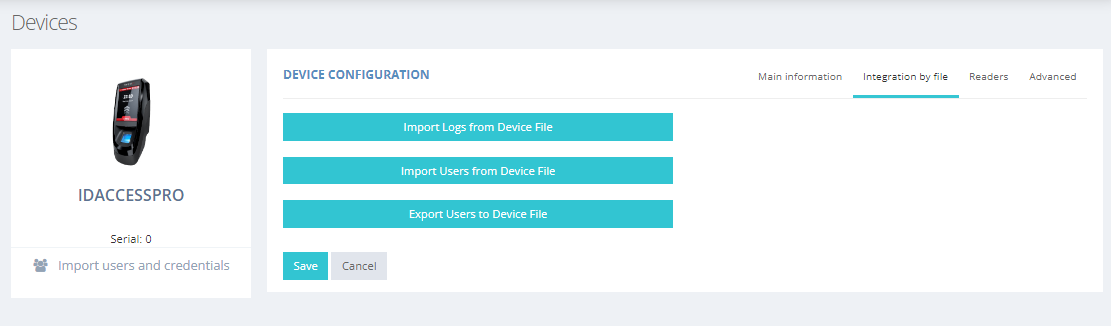
In the edit screen, more settings are available. On the Integration by File tab, a series of commands allow you to import and export device data through files.
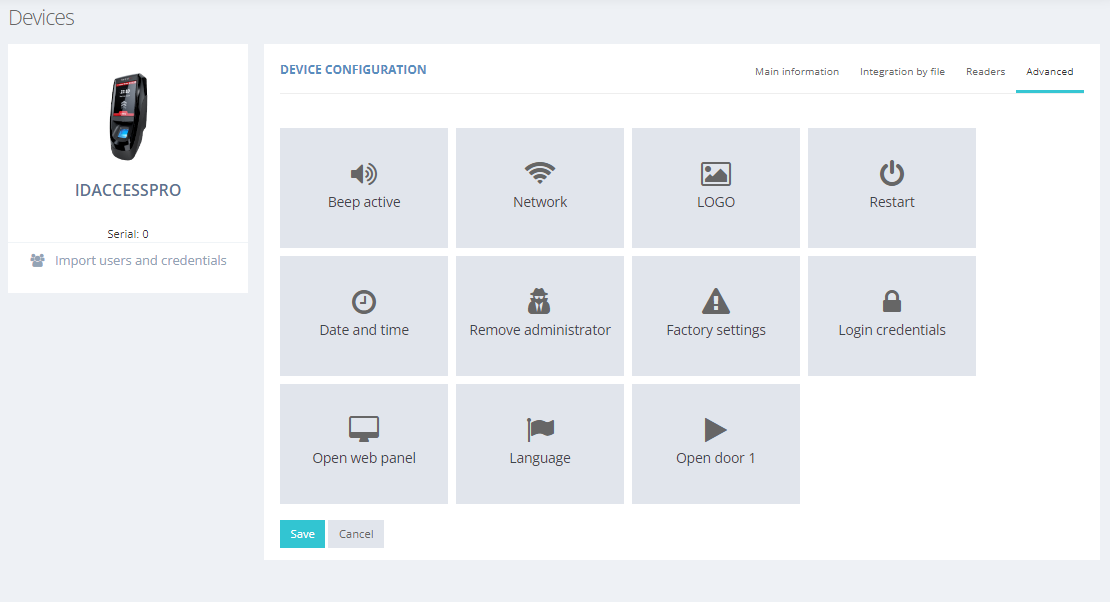
More action options are available in the Advanced tab, depending on the device model. It is possible, for example, to restart the device remotely.
Area
The area is any space inside or outside the company that has an Access controller, normally the Areas are named according to the space, for example, Human Resources or Main Entrance.
The correct filling of the name of the Area depends on the spaces that exist within the organization (company, condominium, or house).
Registration is very simple. Initially, the Name field must be filled. After identifying whether this area is internal or external, you must fill in all the fields and confirm that they are correct. Then just click the Save button.
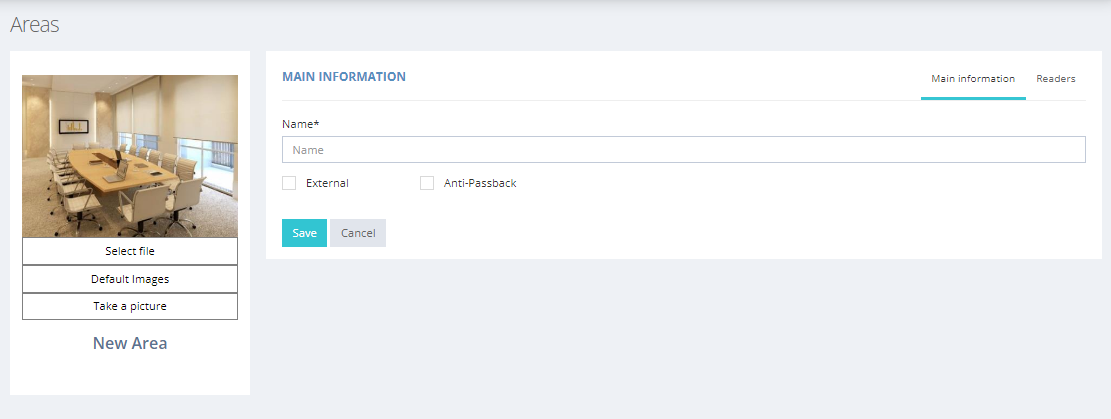
It is possible to activate Anti-Passback for that area. This mechanism helps to prevent that, when a person identifies himself or herself, more people besides the identified person enter the area.
The external area is usually the area that is "outside" and can be an "exit", understand "exit" as the space that is outside the organization, while the internal area is composed of spaces within the organization (company, condominium, or house). After defining the area as internal or external, simply link the readers.
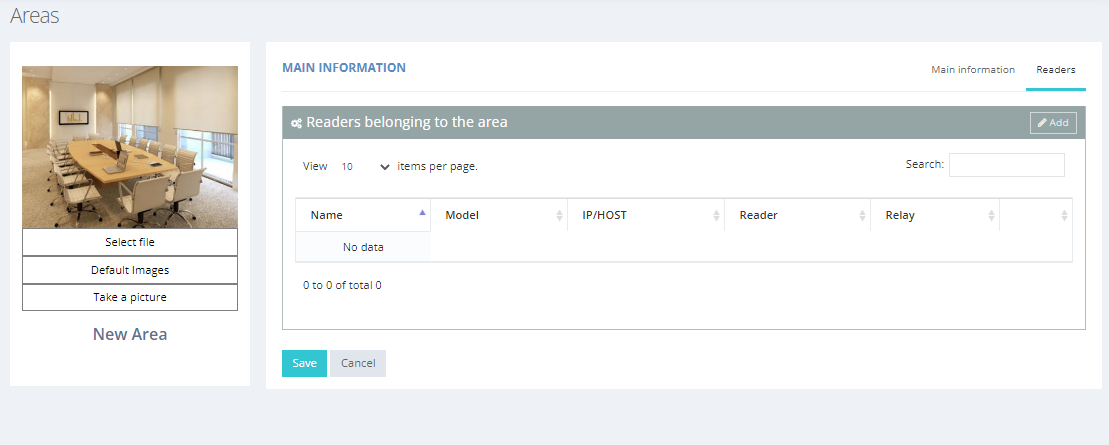
You can change the image of the area by choosing from one of the default images or by uploading a photo.
Schedules
The timetable is composed of bands, these bands correspond to the time the user spends at the company, for example, 08:00hs - 18:00hs, and each day of the week has its band.
This flexibility allows the system to adapt to different types of schedules.
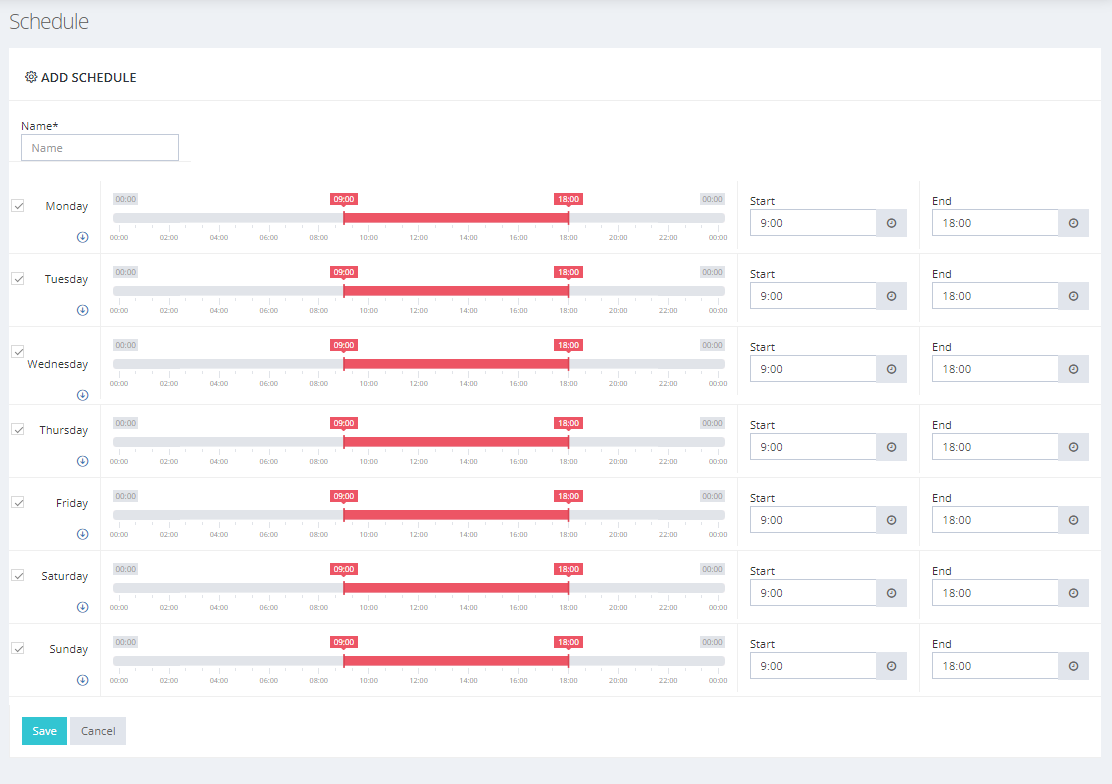
To define the time of the person's access to the device, simply enter the start time in the Start field and the end time of the journey in the End field, as shown in the example available bellow.
Example:
The time range defined on Monday from 08:00hs to 18:00hs, limits accesses until 18:00hs after this period the user will not have access to the area.

Access Rules
The access rule is the most important item in the Access topic, its importance is defined because devices use it to perform Access settings in certain Areas.
The access rule is the main axis that relates departments, users, schedules, and areas. To register the access rule, there are five steps:
Set the name
In the first step Define the name just fill in the name field with the best definition for the access rule and click on the Continue button.

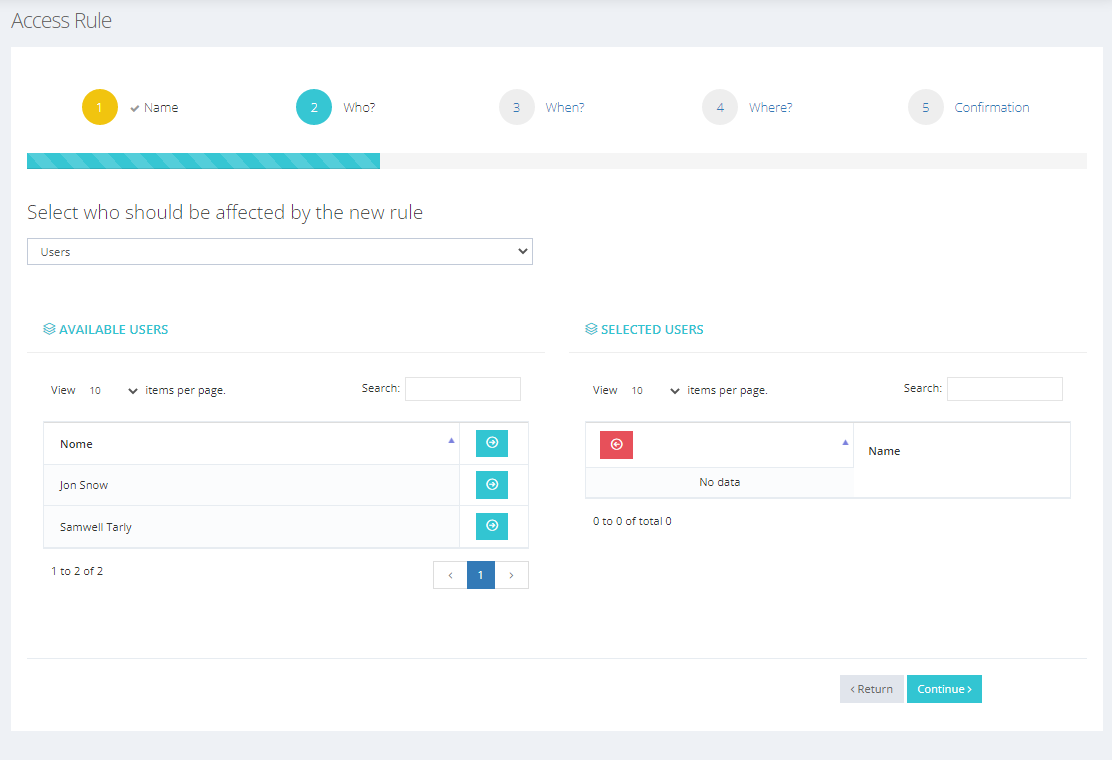
Who?
The second step is to select people, departments, groups, companies, or types, in this example, we will select the default department, click the button next to the department name and then click continue.
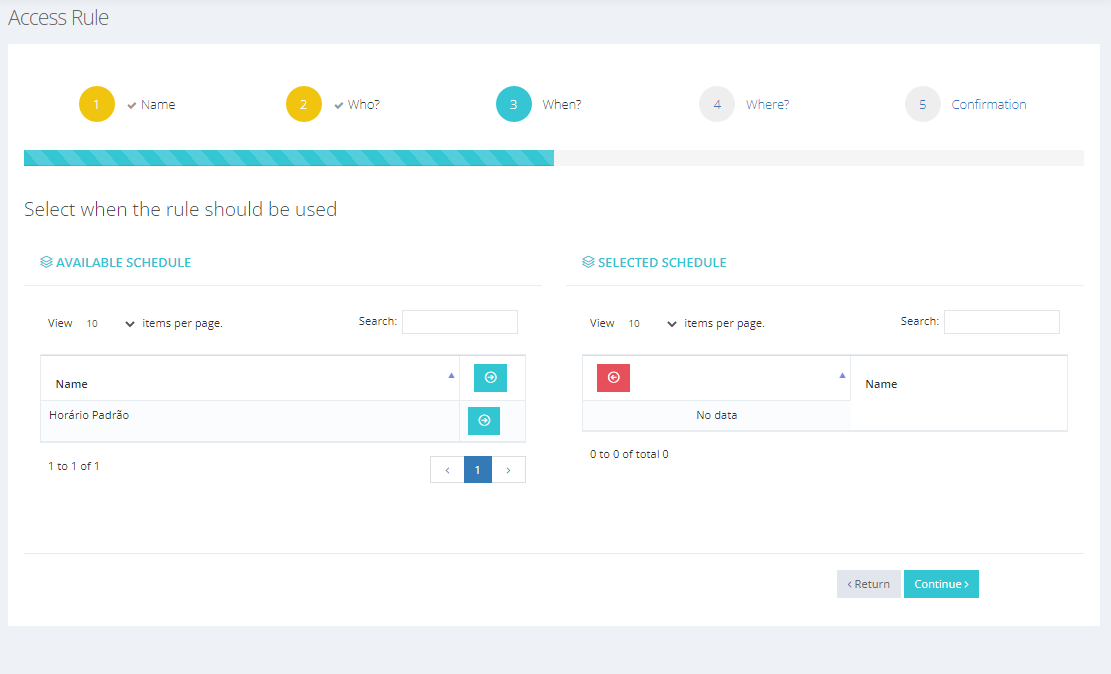
When?
The third step is to select the time that will be applied to the access rule, we are defining when people will be able to enter a certain area.
To learn how to configure the time, see the time registration topic. After setting the time, click on the Continue button.
Where?
The fourth step is to define the area that the standard department will have access to, to know how to register an area, and see the topic area registration. When the area is defined, just click on the Continue button.

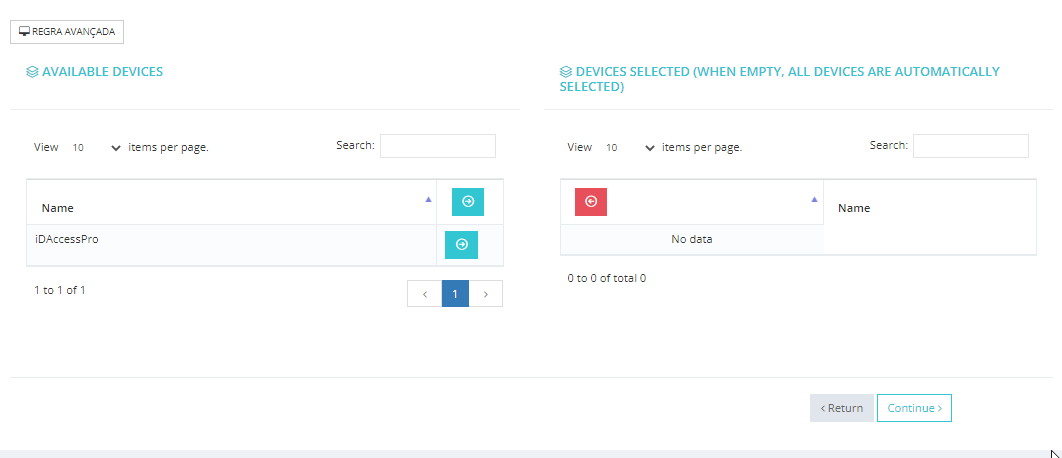
It is also possible to associate a device beyond the area by clicking on Advanced Rule. This will allow the visualization of the registration page according to the figure bellow.
Vehicle Rules
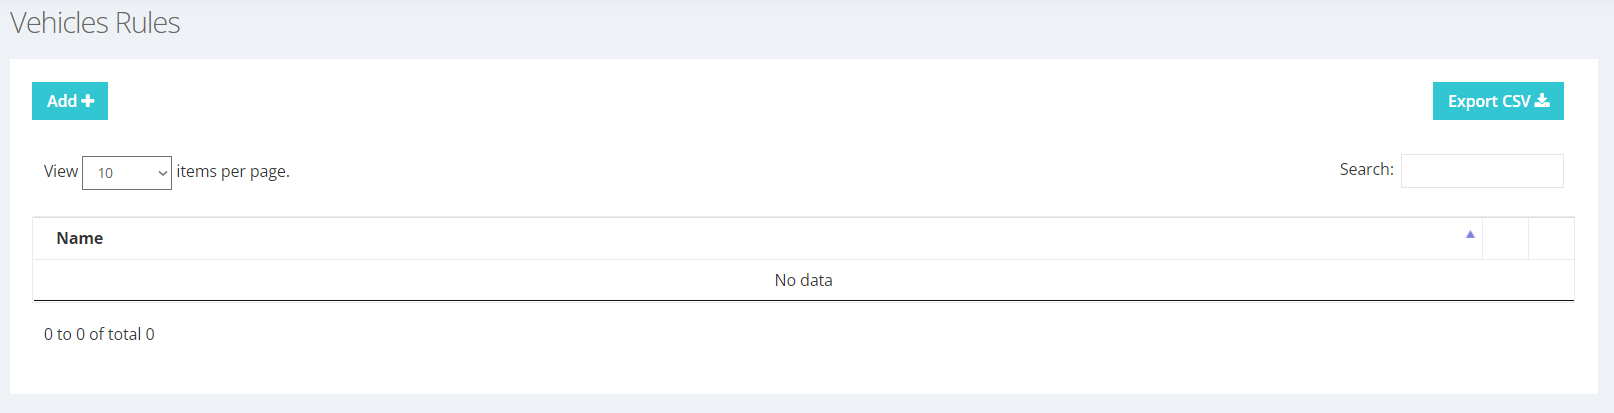
When the parking space control configuration is enabled, you can set the access rules for vehicles as well.
Registering new vehicle rules follows the same procedure as for access rules explained above. To add new vehicle rules just click the add button, seen in the upper left corner of the image below, and follow the steps above.
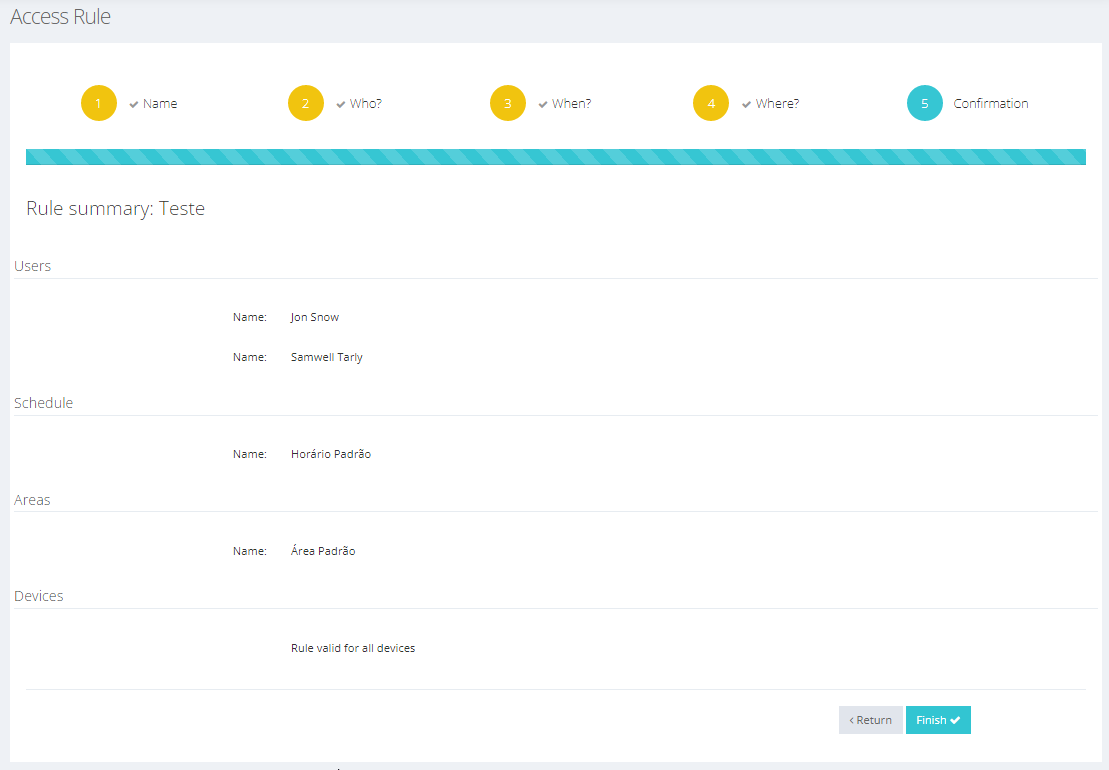
Confirmation of data.
The fifth step is data confirmation. Review all the information and click the Finish button.
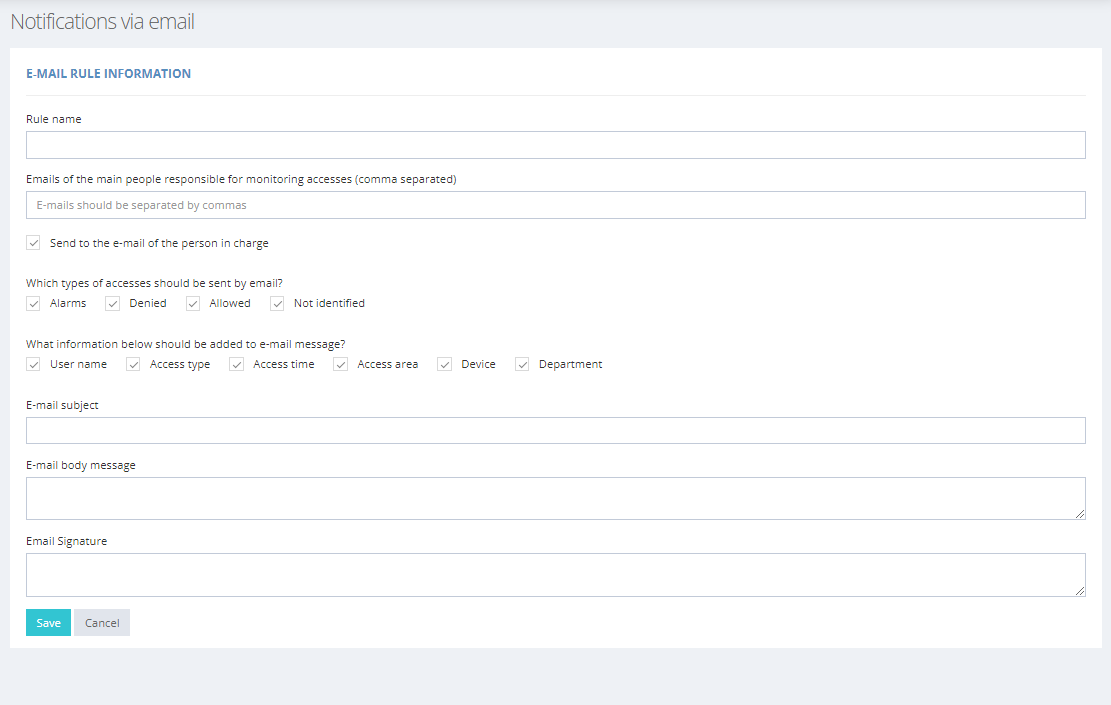
Notifications via Email
It is possible to configure notifications via e-mail for access to areas registered in the system. For this, the Access Rule must be informed, in addition to other information about the content of the notifications and when they must be carried out.