Accessing the System
After installation, iDSecure can be accessed either via desktop (by clicking on the icon) or directly through a browser (https://localhost:30443).
The recommended first steps for using the iDSecure system is:
- Register People;
- Registration of Departments;
- Registering Areas;
- Register Devices;
- Register Access Rule;
For more information on how to perform a particular task above, just click on the desired topic to be redirected to a page with the respective instructions.
Monitoring
Every registered device can be monitored on the Monitoring screen. The accesses performed can be viewed and filtered according to event, person, device and area.
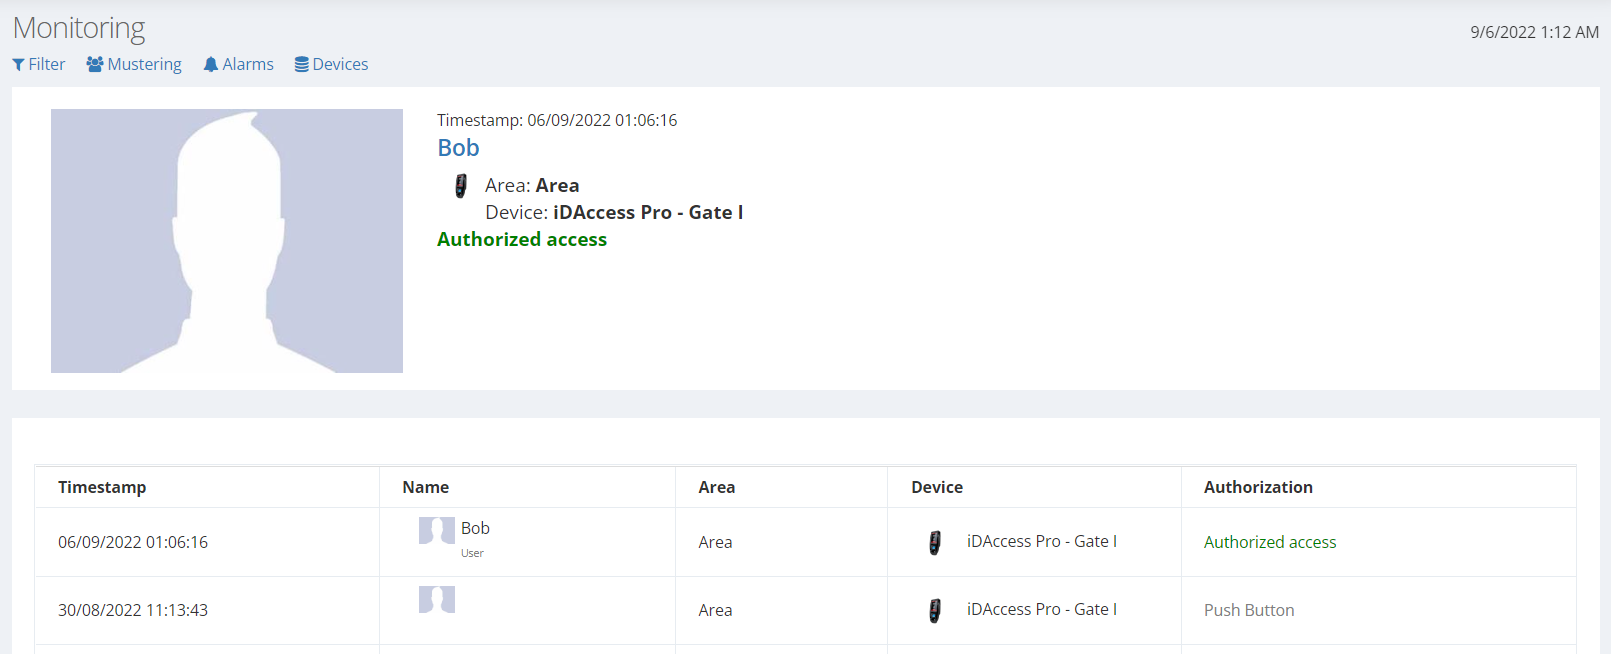
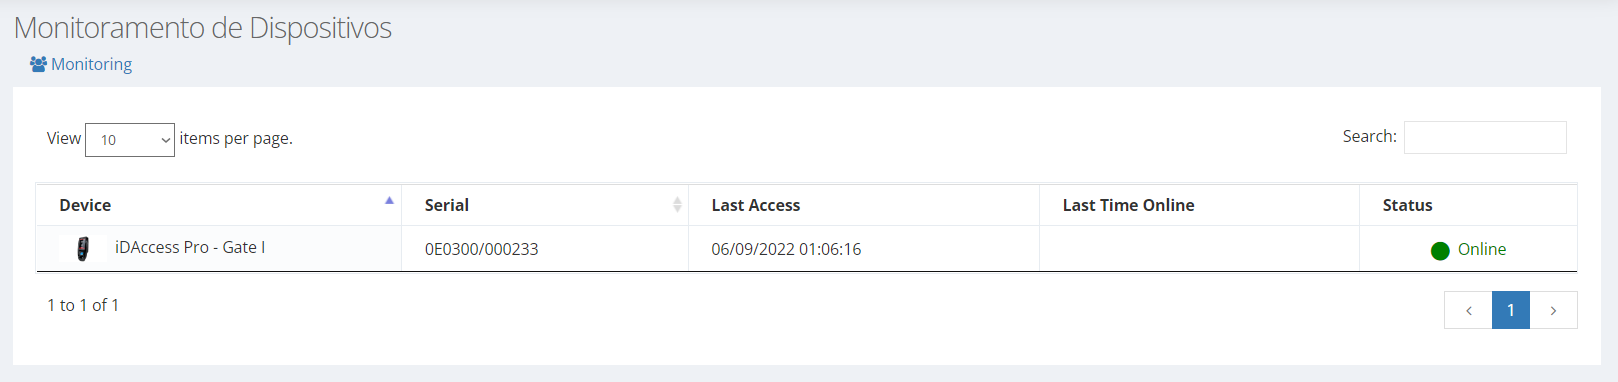
In the "Devices" tab, you can analyze the states and specifications of the devices registered in iD Secure. Thus, in case a device fails, it is possible to see if it is connected to the network, which and when was the last access attempt. Similar data can be seen in the "Alarms" tab, but the difference is that the alarms appear listed.
It is also possible to activate the relay associated with the equipment. For now, the button is configured to open only the first relay of the device. In devices such as the iD Box, for example, which has four relays, three of them will be inaccessible on this screen. However, with the Enterprise license, you can control them in the Floorplan.
Floor plan
This is a feature available for the Enterprise version of the iD Secure system. Through the floor plan system it is possible to map the devices registered in the environment plan, so that they can be configured and controlled.
By clicking on "Floor plan" on the side menu, the user is directed to a page with the existing floor plans. On this screen, it is also possible to create a new one by clicking on "Add".
The screen for creating a floor plan looks like the one in the image below.
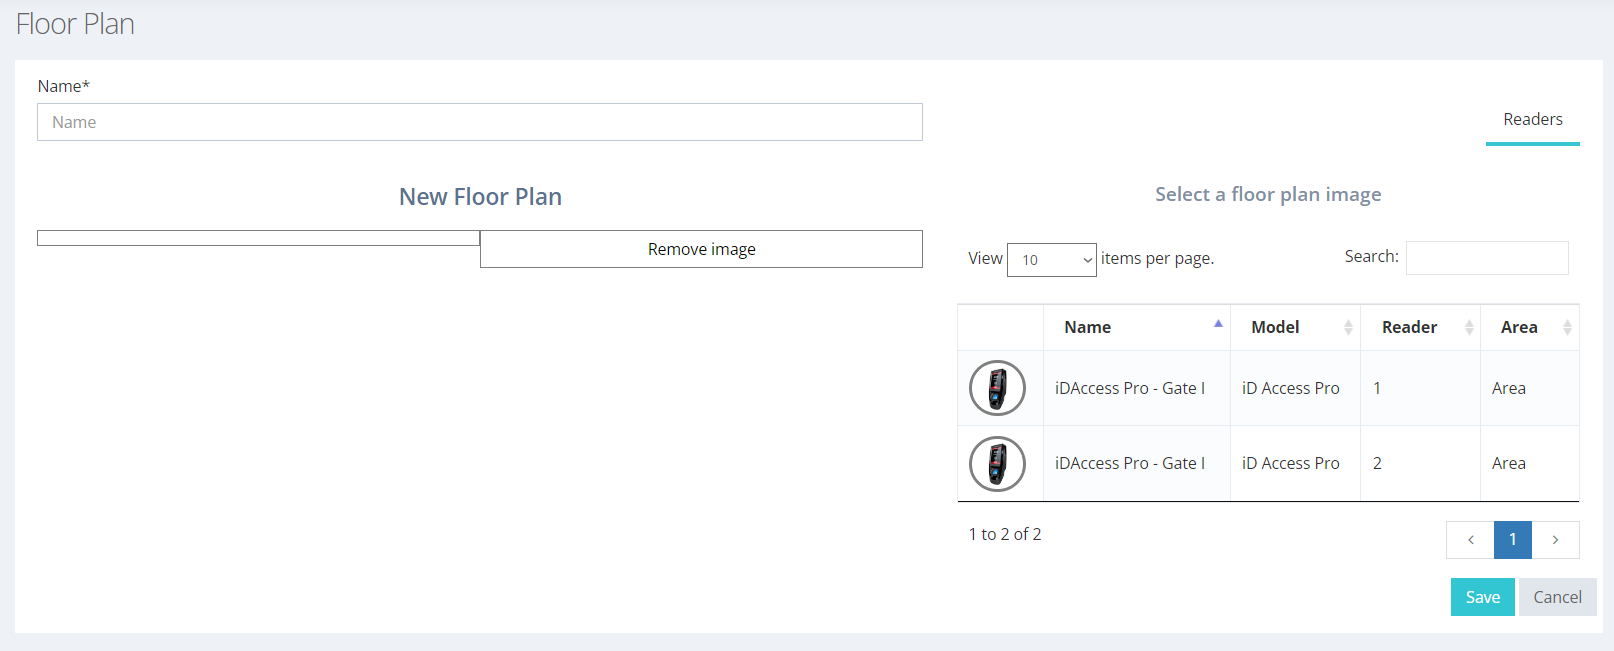
Note that it is possible to add the same device more than once, since this functionality controls the readers. In the case of the example, we have a device that has two readers. After loading the image, you can drag the devices to the plant and position them according to their location. Once this is done, just click "Save".
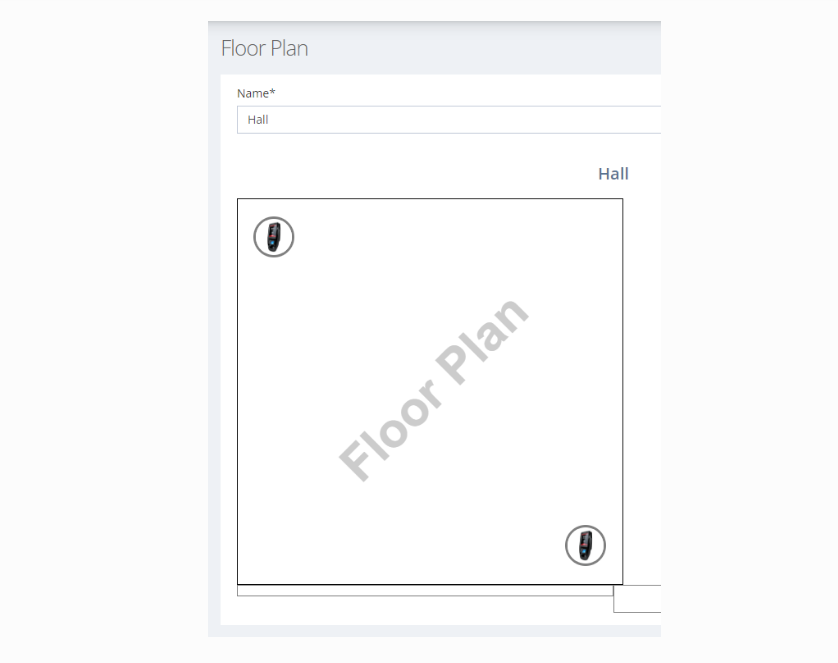
The created floorplan can be accessed through the same menu, and the readers can be configured and opened as desired. When clicking on a reader, two buttons appear, one for editing and the other for access control.
Data Synchronization
The synchronization of data in the iDSecure system with the equipment occurs automatically. As soon as some data such as equipment, area, user, or form of identification is changed, the system calculates all changes that must be made in the equipment, and immediately starts synchronizing. Thus, it is important to wait a few seconds until all the data is replicated in the equipment.
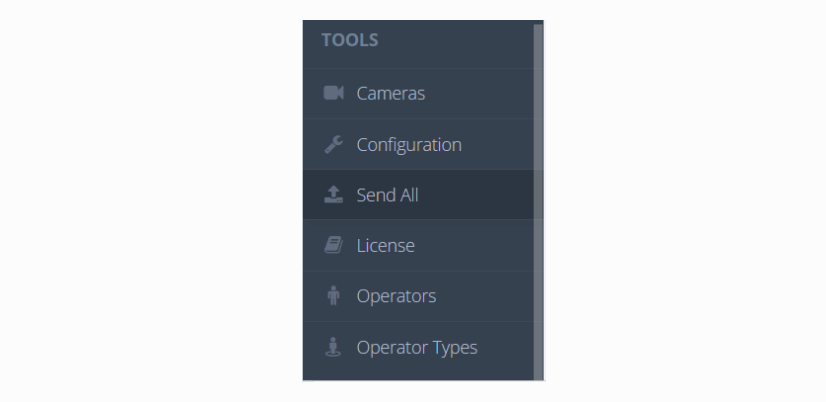
If some equipment is offline and does not receive the updates, it is possible to do it through the "Send Data" button. iDSecure also checks the equipment settings automatically every time it is started.
Finally, in Enterprise mode, all information (except contingency) is stored on the server and changes become effective immediately.